GEOFF’s Multi-Coloured Brioche Rolls…
⏱️ Enjoy with your favourite beverage | 5 min read
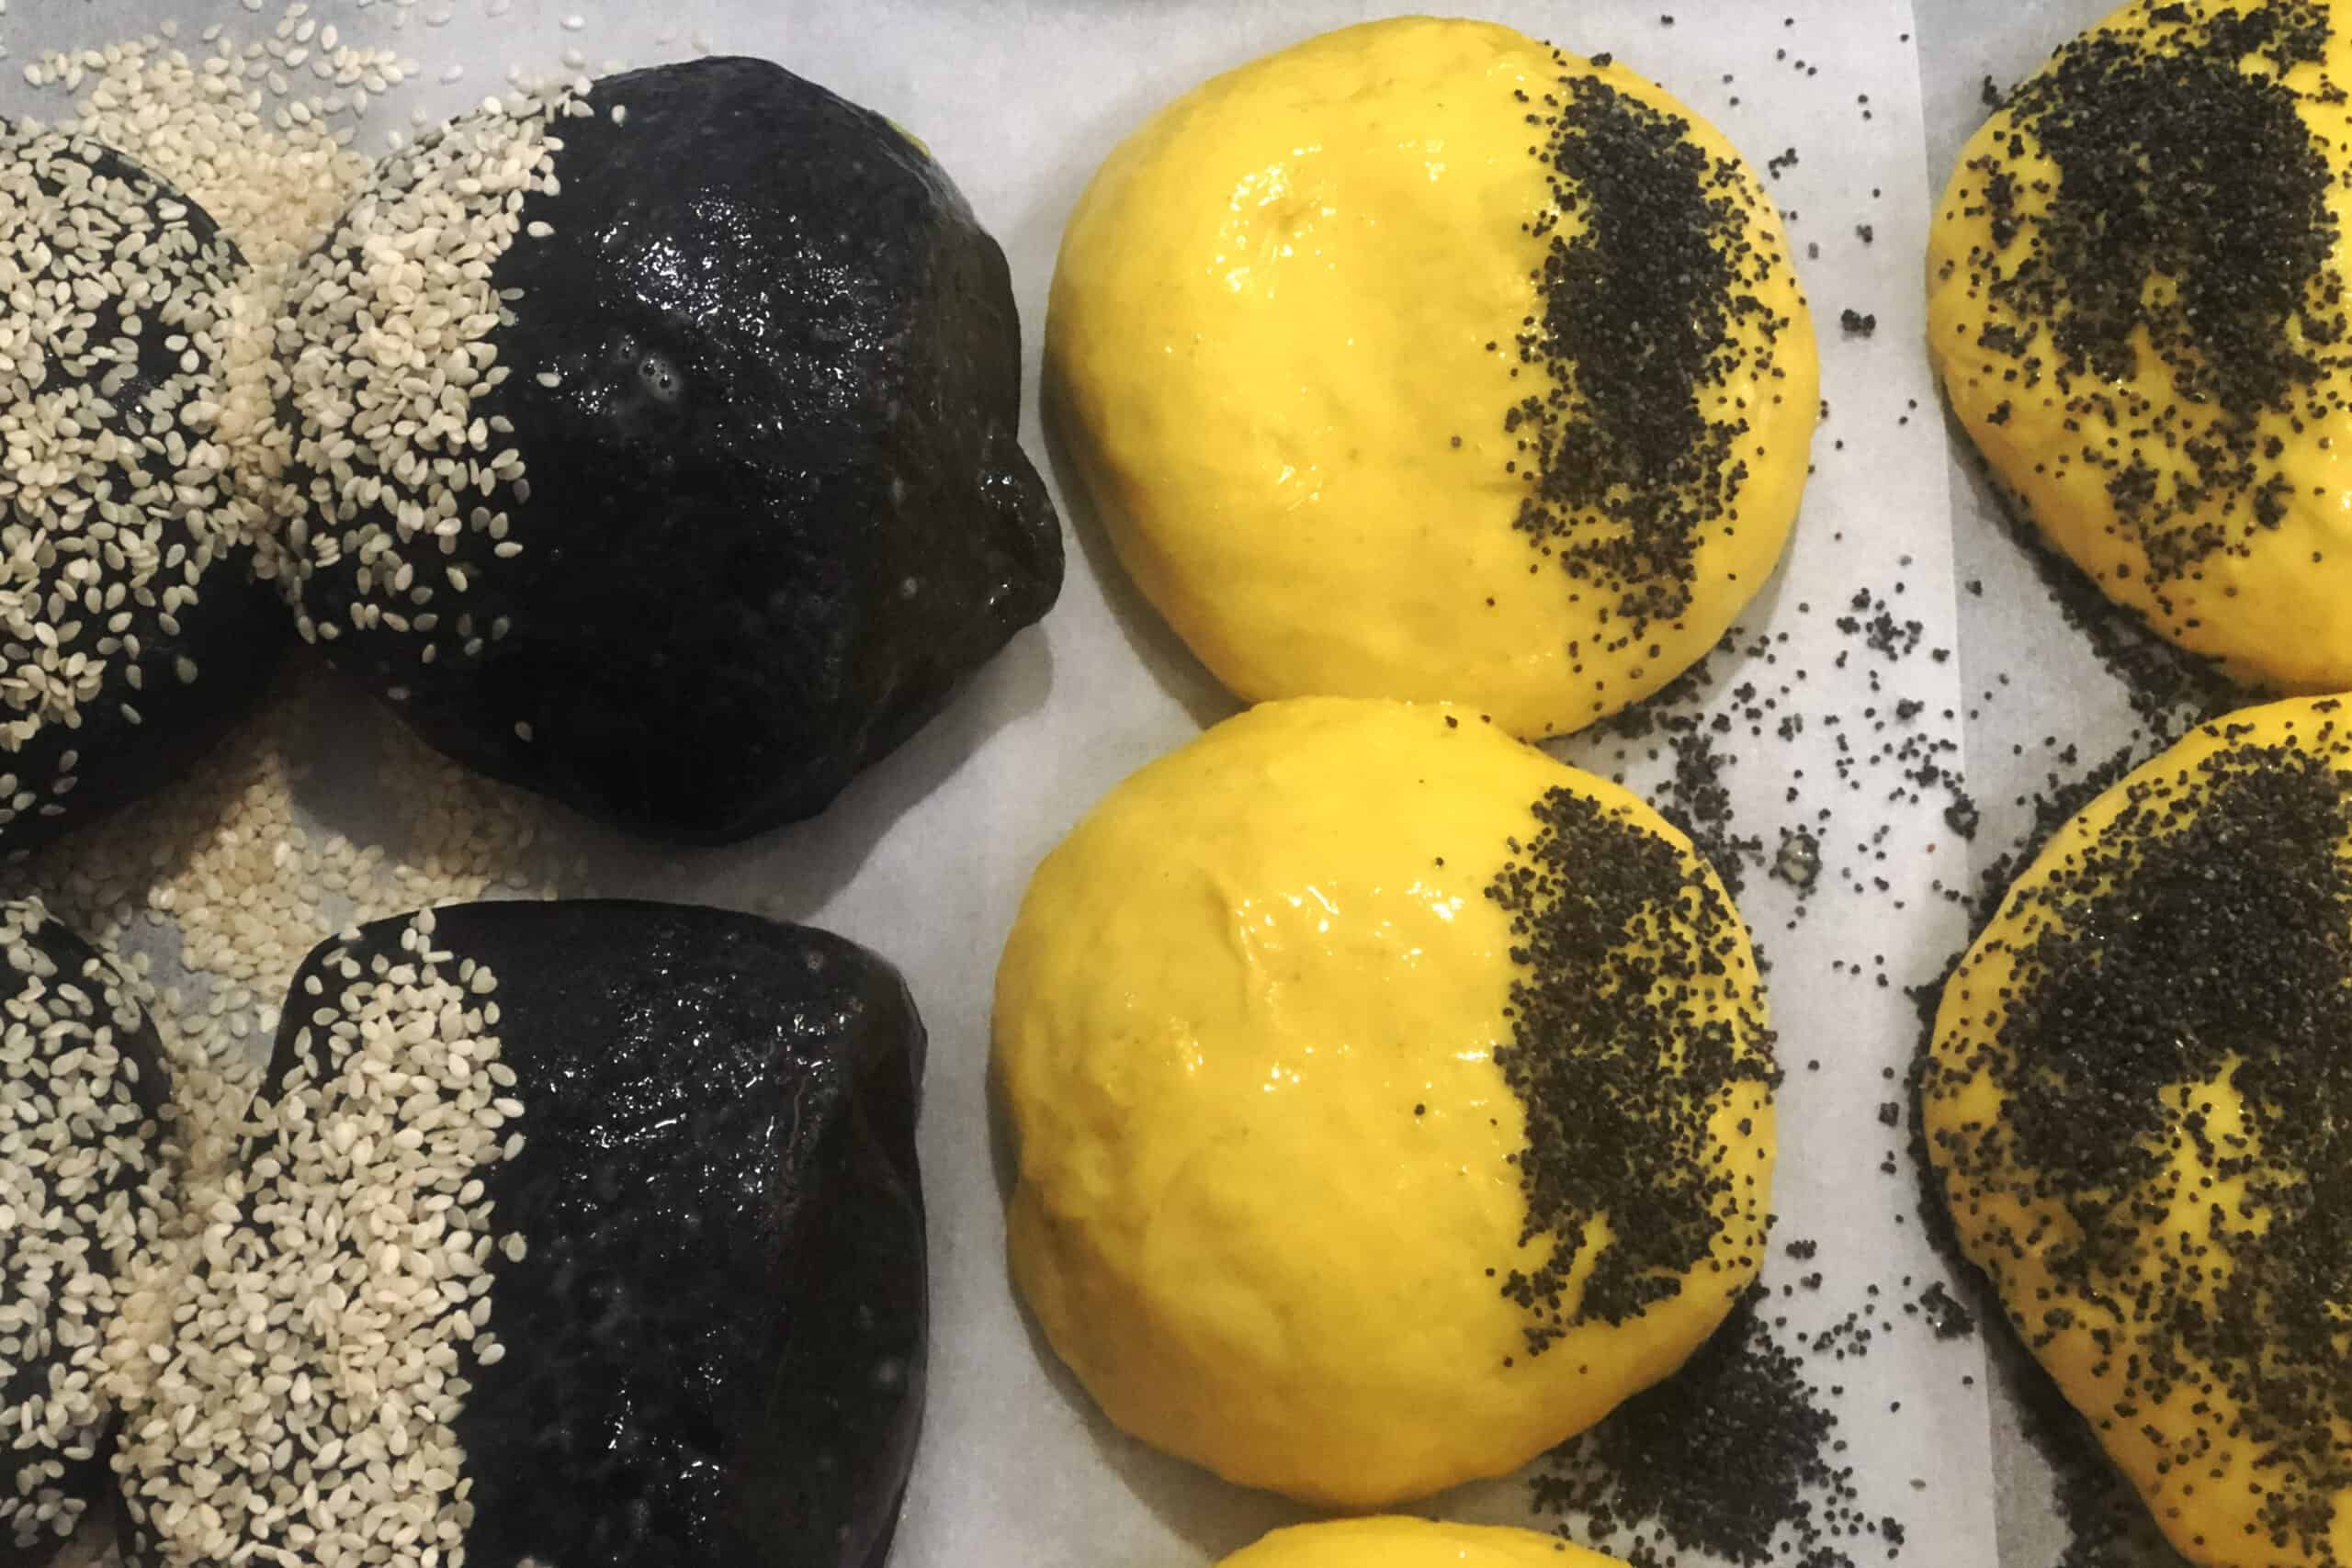
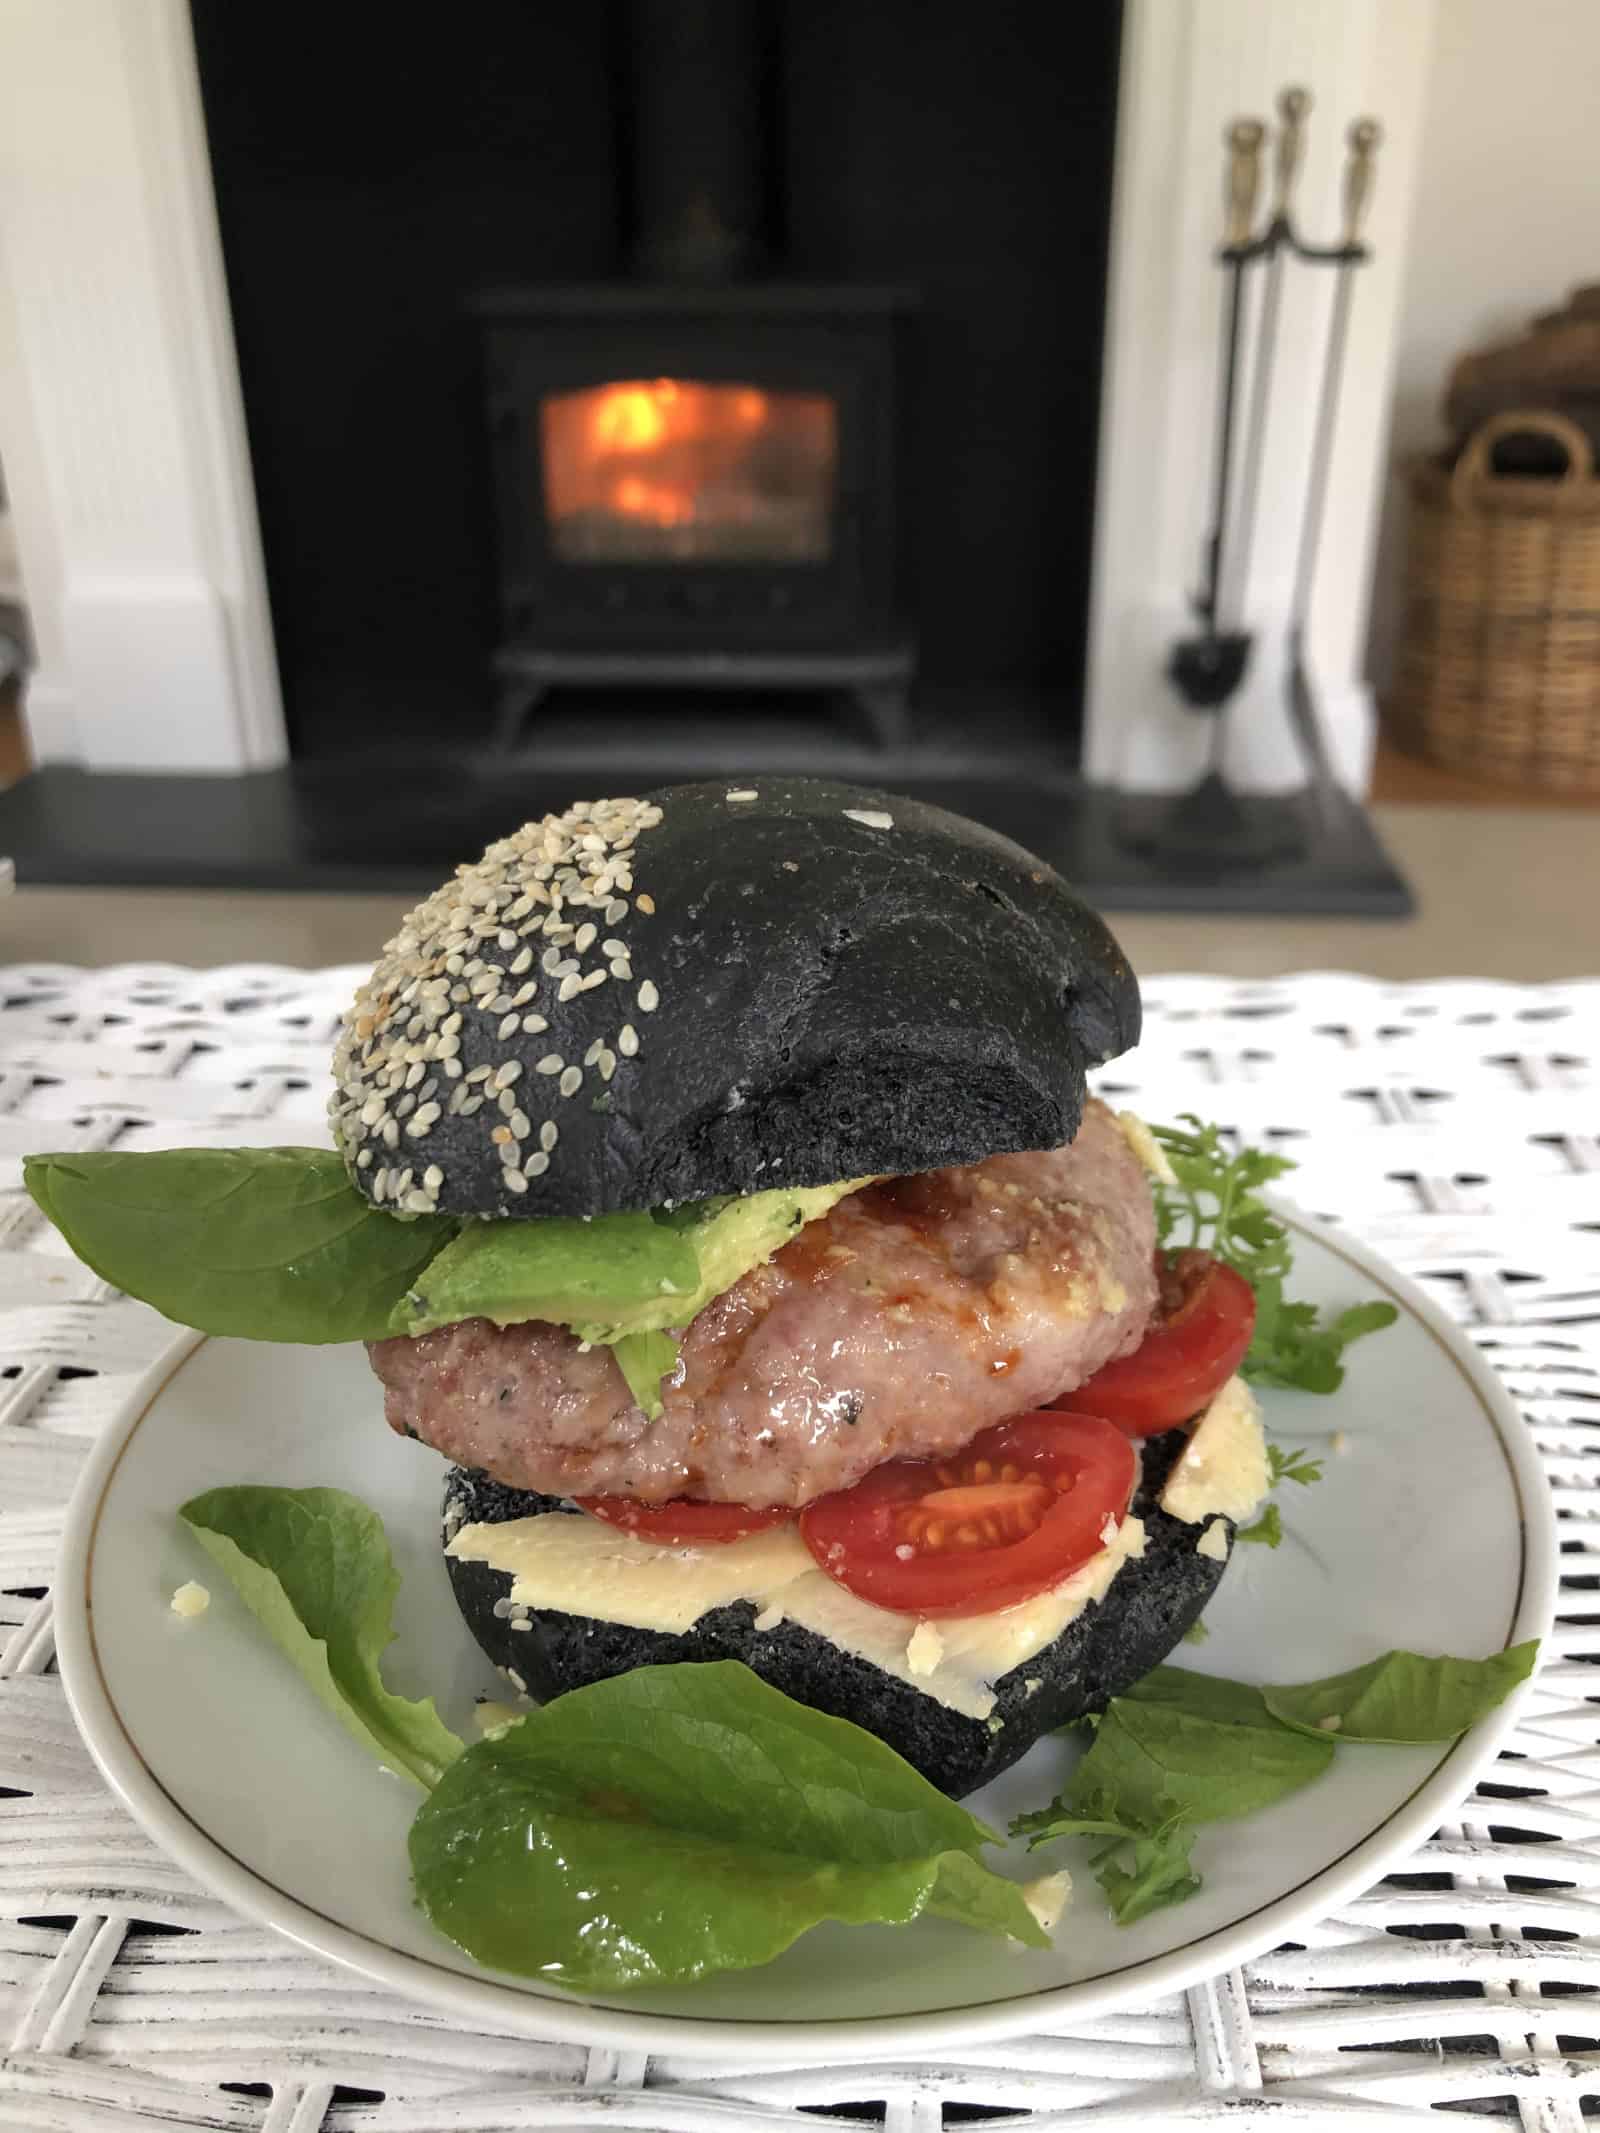
I made these brioche rolls as a double batch just to play with colour – turmeric folded through one half, activated charcoal through the other. The base is Richard Bertinet’s brioche formula from Crumb, one of the lightest enriched doughs I use – not sweet, so it sits well next to savoury fillings. I mix Wholegrain Milling Co’s organic flour into almost everything I bake. I split the dough in half before colouring, mixing the turmeric batch first and the charcoal batch second, so the darker colour has nothing lighter left to stain. Good alongside cured or smoked fish, or a soft cheese or sliders.
GEOFF’s Multi-Coloured Brioche Rolls…
Two batches of Richard Bertinet's brioche dough, one coloured with turmeric and one with activated charcoal, glazed on just half of each bun so the colour stays visible against the baked crust.
Ingredients
Equipment
Method
- 1. Warm each portion of milk slightly. Stir the turmeric into one and the charcoal into the other until fully dissolved – you'll have two jugs of coloured milk ready to go.2. Mix the turmeric dough first. Put the coloured milk and eggs into the bowl of a stand mixer, then add the flour. Crumble the fresh yeast onto one side of the bowl and add the salt. Break the butter into small pieces and add gradually, waiting until each piece is worked in before adding the next.3. Mix on slow speed for 4 minutes, then increase to medium and continue for 12-15 minutes until the dough comes away clean from the side of the bowl. Turn out and set aside to prove, then wash the bowl and hook thoroughly before starting the charcoal dough the same way – mixing the lighter colour first means there's nothing pale left in the bowl for the charcoal to stain.4. Lightly flour your work surface, turn each dough out and shape into a ball. Rest each dough in its own covered bowl for about 1 hour, or until doubled in size. Both doughs can instead be rested overnight in the fridge and proved the following morning at 35°C for about an hour in your oven if needed.5. Preheat the oven to 190°C with 2 bursts of steam on the Moisture Plus setting, about 20 minutes before baking. On a conventional oven, preheat to 190°C and place a tray of hot water in the base for steam.6. Divide each dough into pieces of roughly 60-70gm and shape into tight balls – you should get about 10 rolls per colour. Place on baking trays lined with baking paper, cover with a clean cloth or plastic bag, and leave to prove for 60-90 minutes until doubled in size.7. Beat together the eggs, salt and milk for the glaze. Using a pastry brush, glaze just half of each bun's surface – this keeps the colour visible against the baked crust. Hold the scraper as a guard over the unglazed half, then sprinkle sesame seeds onto the glazed half of the charcoal rolls and poppy seeds onto the glazed half of the turmeric rolls.8. Bake on shelf position 2, reducing the temperature to 180°C, for about 15 minutes. Trigger the first burst of steam as the rolls go in and the second at the 10-minute mark. On a conventional oven, bake at 180°C for 15-18minutes, opening the door briefly halfway through to let steam escape if the crust isn't crisping. The rolls are ready when the surface is shiny and firm and they sound hollow when tapped underneath.9. Cool on a wire rack before serving.
Nutrition
Notes
Suggested Serving
- Split and butter while still warm.
- Stack the two colours together on a board for a striking centrepiece.
- Wine: a crisp Adelaide Hills Chardonnay or a dry Riesling.
Notes:
- This dough comes from Richard Bertinet’s Crumb – one of the lightest enriched doughs I use, and not sweet, so I left the sugar out entirely.
- Activated charcoal and turmeric are both food-grade powders stirred into the milk before mixing, rather than into the dry flour – this gives an even colour without streaking.
- Saltbush or other native ground herbs can stand in for either powder if you want a more Australian palette – start with 10gm and adjust to taste, as the colour and flavour strength will vary by supplier.
- Splitting the dough before colouring means two separate mixes rather than one, and mixing the turmeric batch before the charcoal batch – more washing up, but it keeps the lighter colour clean rather than muddied by the darker one.
- Glazing only half of each bun, with the scraper held as a guard over the other half, keeps the coloured dough visible once baked rather than disappearing under an even glaze.
- I use fresh yeast as a rule – it gives a more reliable rise in an enriched dough like this than dried.
- Shaped, unbaked rolls freeze well – see Storage below.
- Baked rolls keep in an airtight container for 2 days.
- Reheat in the Moisture Plus or Combi Oven at 170°C for 10 minutes with 1 burst of steam – this keeps the crumb soft with no crust forming. On a conventional oven, reheat at 160°C for 8–10 minutes, loosely covered with foil to stop a crust forming.
- Shaped, unbaked rolls freeze well for up to 6 weeks – freeze on the tray first, then transfer to a container once solid.
- Thaw and prove at room temperature for 2-3 hours before glazing and baking as per the method.